OLD MASTER PRODUCTS

Hardwood Flooring and Mouldings

  • Home
  • About
  • Products
    • Flooring
      • Allora
      • Garrison
      • Appalachian Flooring
    • Sundries
    • Mouldings
  • Locations
  • Resources
    • FAQs
    • Return Policy
    • Inventory Hold Policy
    • Privacy Policy
    • Specials
  • Blog
  • Careers
  • Contact
  • (800) 300-5158

Flooring Installation

By

Flooring Installation Tips for Contractors: Mistakes to Avoid with Old Master Products

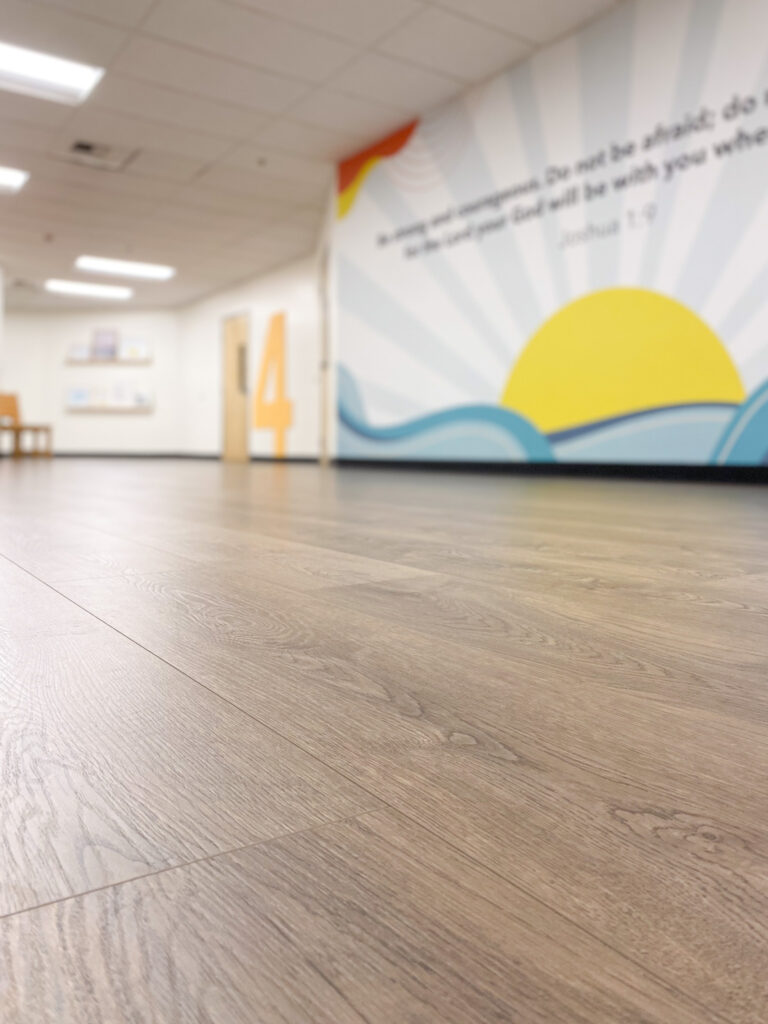
Flooring installation is a high-stakes process—one misstep can cost contractors time, money, and reputation. That’s why seasoned pros turn to proven, professional-grade products to simplify the process and prevent costly issues.

At Old Master Products (OMP), we’re committed to helping you do the job right the first time. From adhesives and subfloor prep to tools and finishes, our product lineup is engineered for performance, consistency, and ease of use.

In this guide, we’re sharing practical flooring installation tips for contractors, including the most common mistakes—and how OMP products help you avoid them.


1. Using the Wrong Adhesive (or the Right One the Wrong Way)

Worker laying parquet flooring. Worker installing wooden laminate flooring.

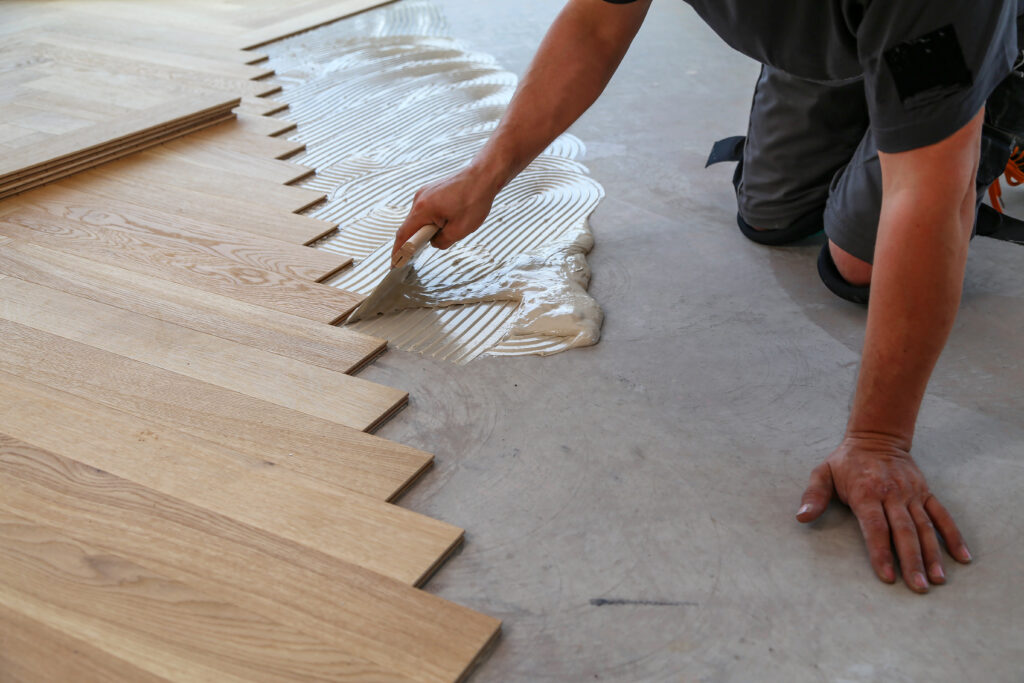
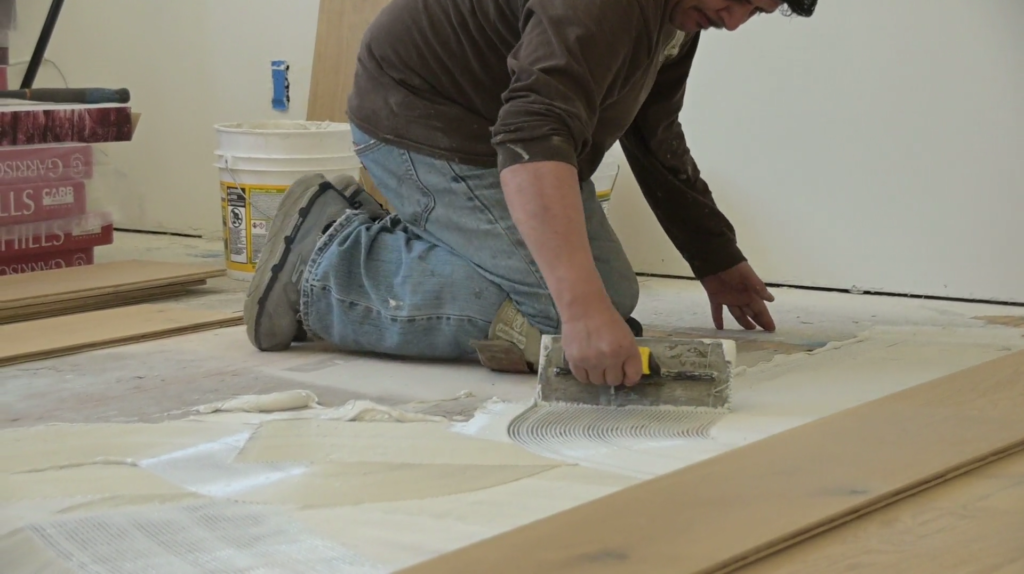
The Mistake: Choosing the wrong adhesive for the material or applying it incorrectly can lead to loose boards, hollow spots, or complete failure.

Flooring Tip: Use the right adhesive for the job—and follow proper trowel techniques to ensure even coverage and strong bonding.

The OMP Solution:
We offer two contractor-trusted adhesives built to reduce errors and boost efficiency:

🔹 OMP 9000

Two jobs, one product. OMP 9000 is both a urethane moisture barrier and wood flooring adhesive, perfect for solid or engineered wood over concrete. Trowel it on once—seal and stick in one step—saving time and materials.

🔹 Garrison 605

Strong, versatile, and clean. Garrison 605 is a moisture-curing polyurethane adhesive that works on wood, concrete, cork, recycled rubber, and more. Ideal for a clean, durable bond without the mess.


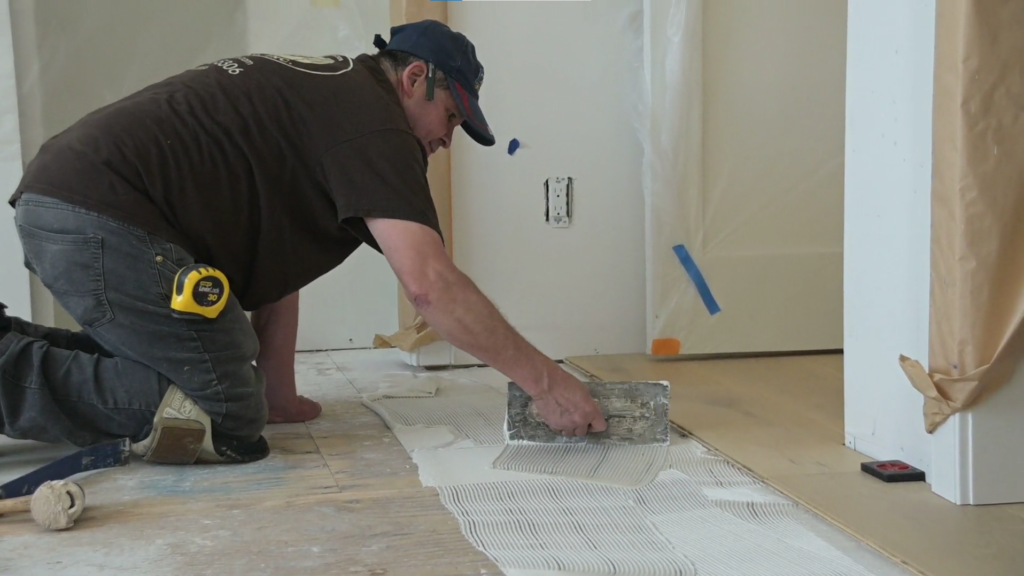
2. Skipping Proper Subfloor Preparation

The Mistake: Even the best adhesive won’t compensate for an unprepared subfloor. Moisture, dust, and unevenness lead to long-term issues.

Flooring Tip: Always level, clean, and treat your subfloor before installation—especially over concrete.

The OMP Solution:
We stock the best subfloor prep products from Sika, Bostik, Wakol, and more. Whether you need a moisture barrier, self-leveler, or primer, we have the tools to set a solid foundation.


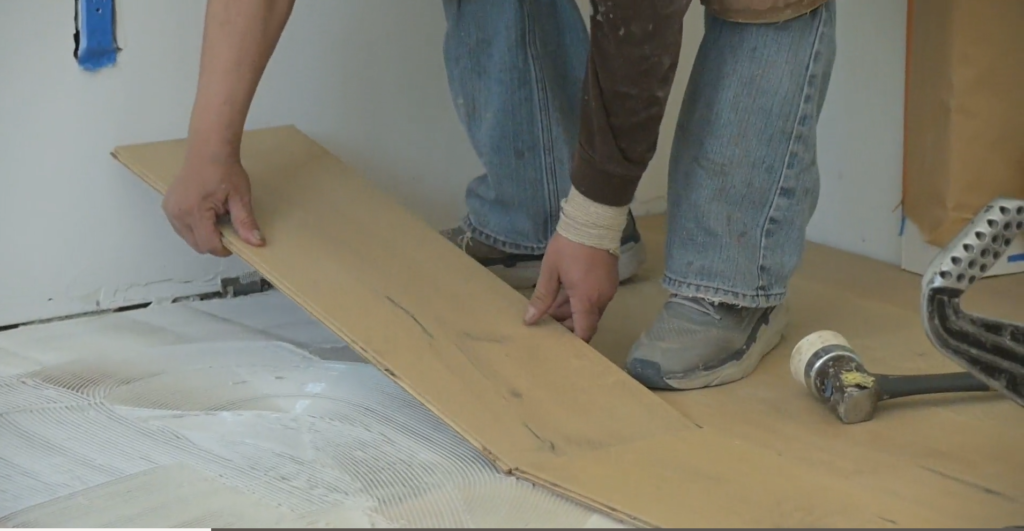
3. Not Following Manufacturer Guidelines

The builder draws an arrow pointer during its operation. Light lock laminate in the house. The process of laying laminate with your own hands. Repair with high-quality materials

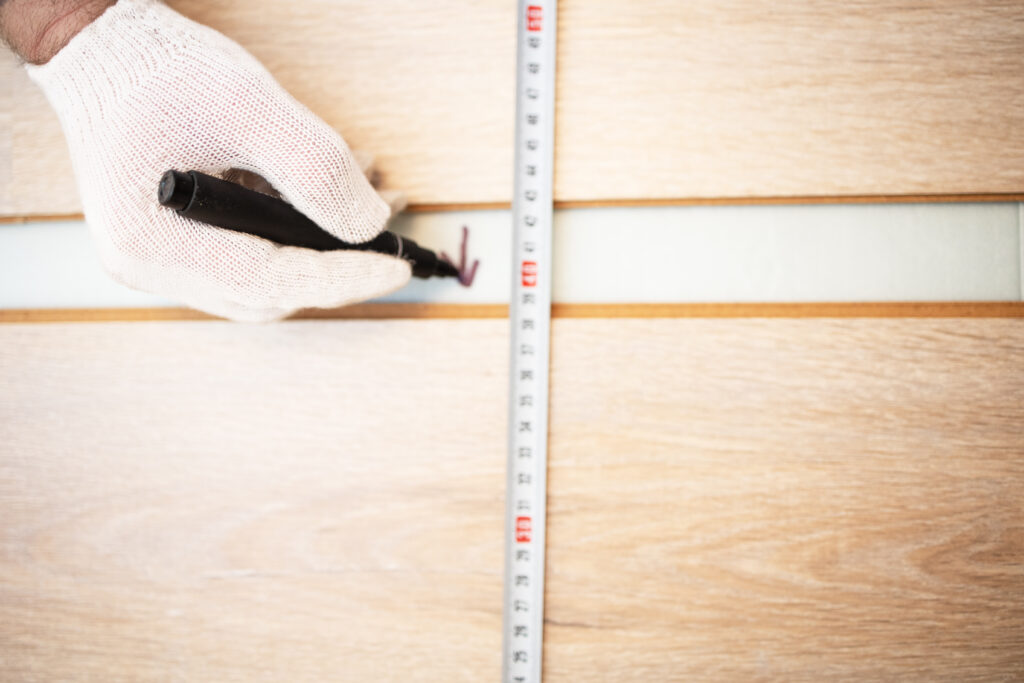
The Mistake: Rushing through installation or skipping steps—like ignoring expansion gaps or curing times—can ruin an otherwise perfect job.

Flooring Tip: Read and follow product instructions every time. Even seasoned contractors benefit from a quick refresher.

The OMP Solution:
We make it easy to get it right. Our adhesives come with clear documentation, and our reps are always ready with expert advice to support your success.


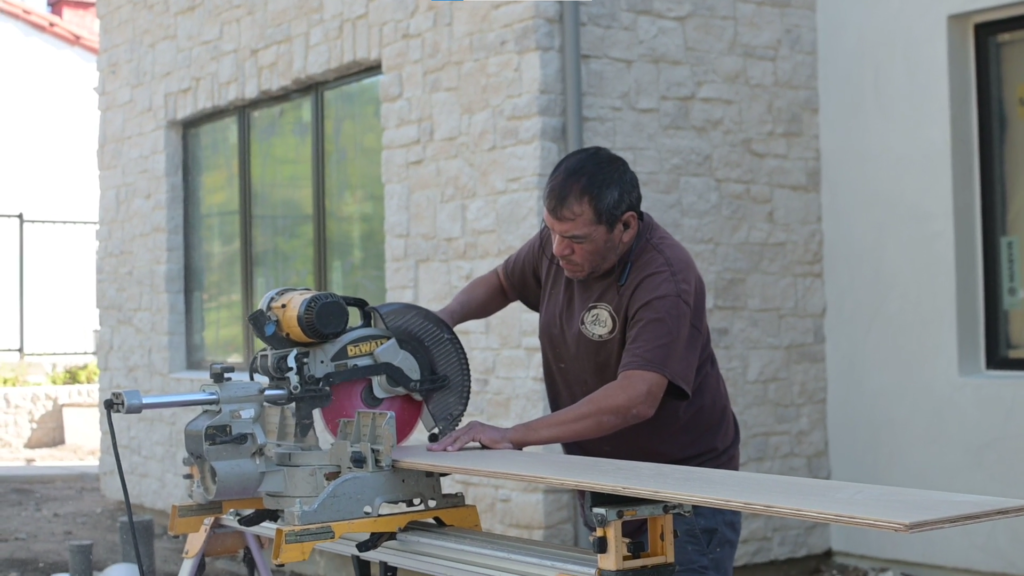
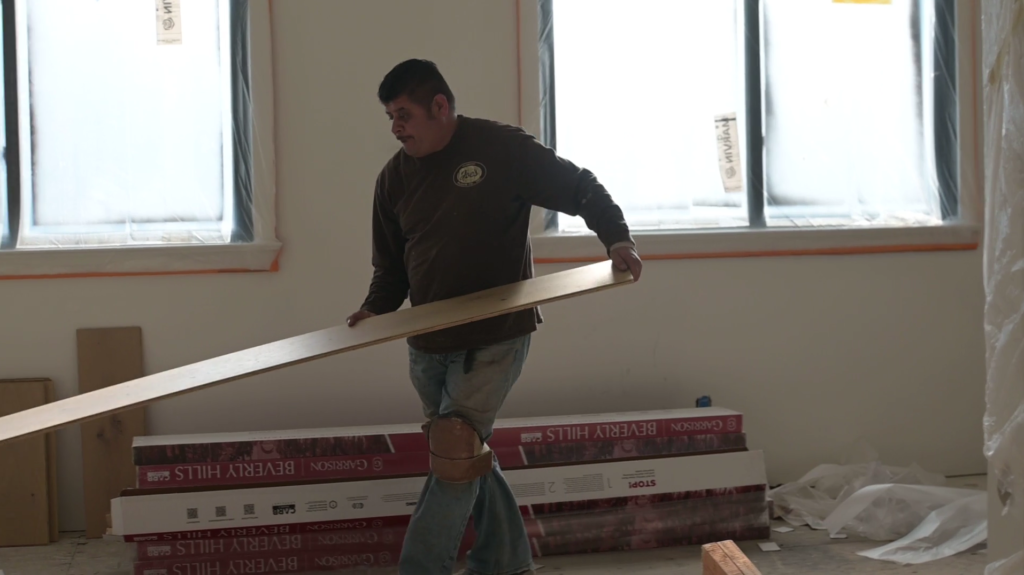
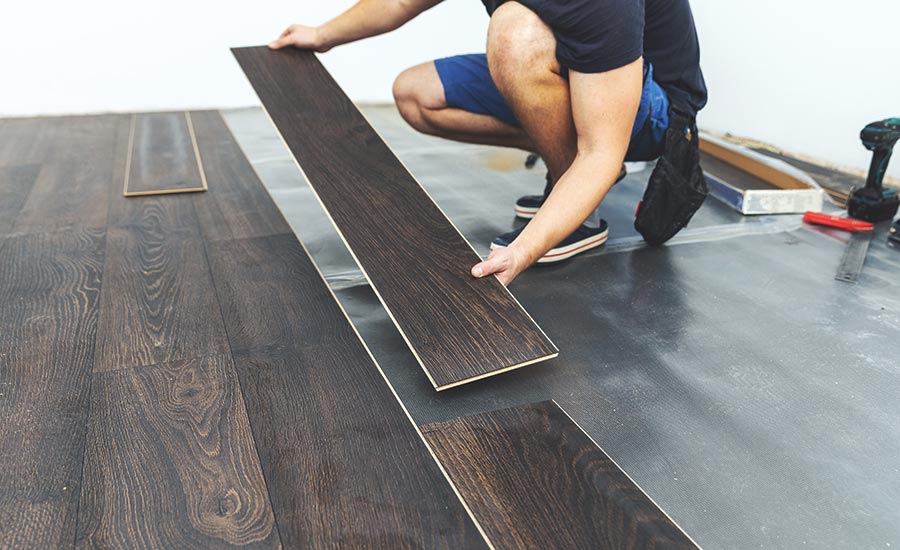
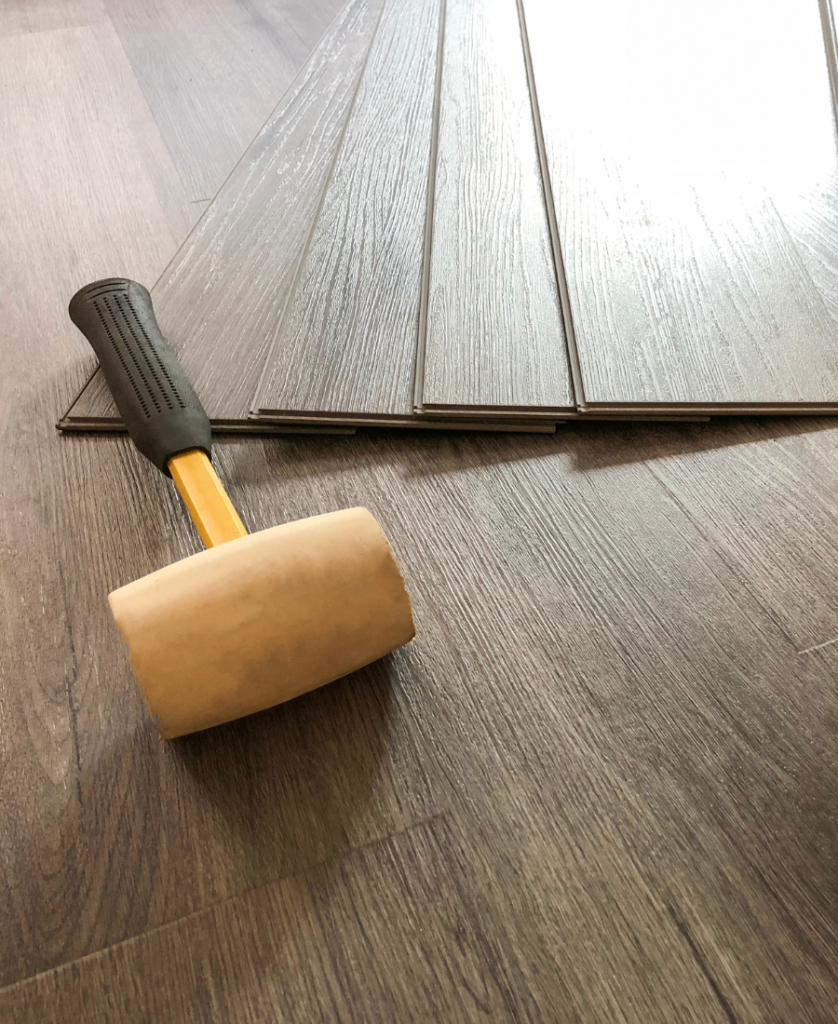
4. Using Low-Quality Materials and Tools

Appalachian Flooring at Old Master Products

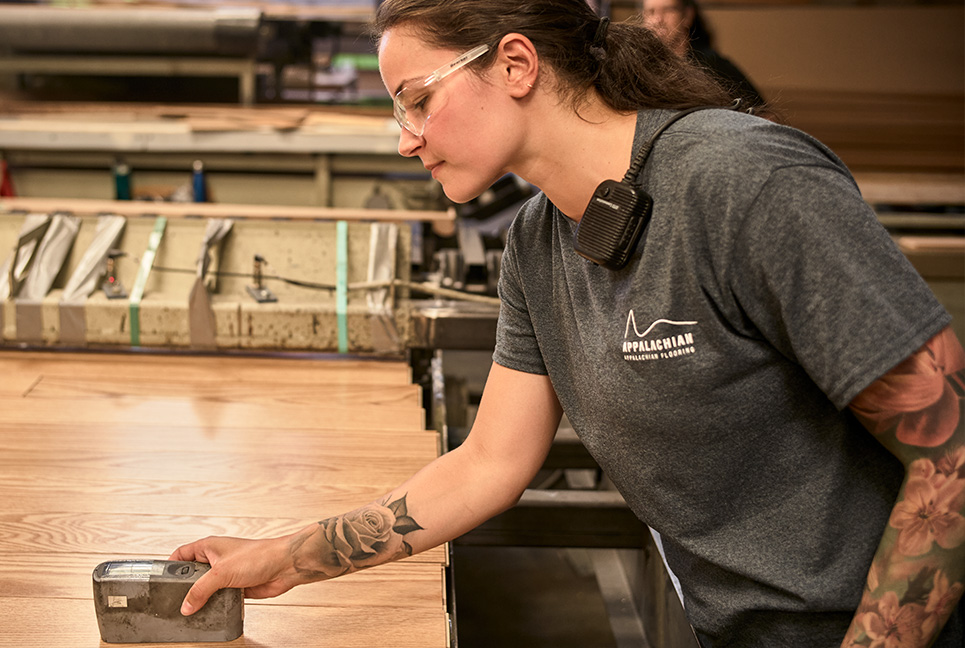
The Mistake: Cheap materials may look good on paper but often lead to poor adhesion, fast wear, or installation do-overs.

Flooring Tip: Invest in professional-grade products that stand up to the demands of the job site.

The OMP Solution:
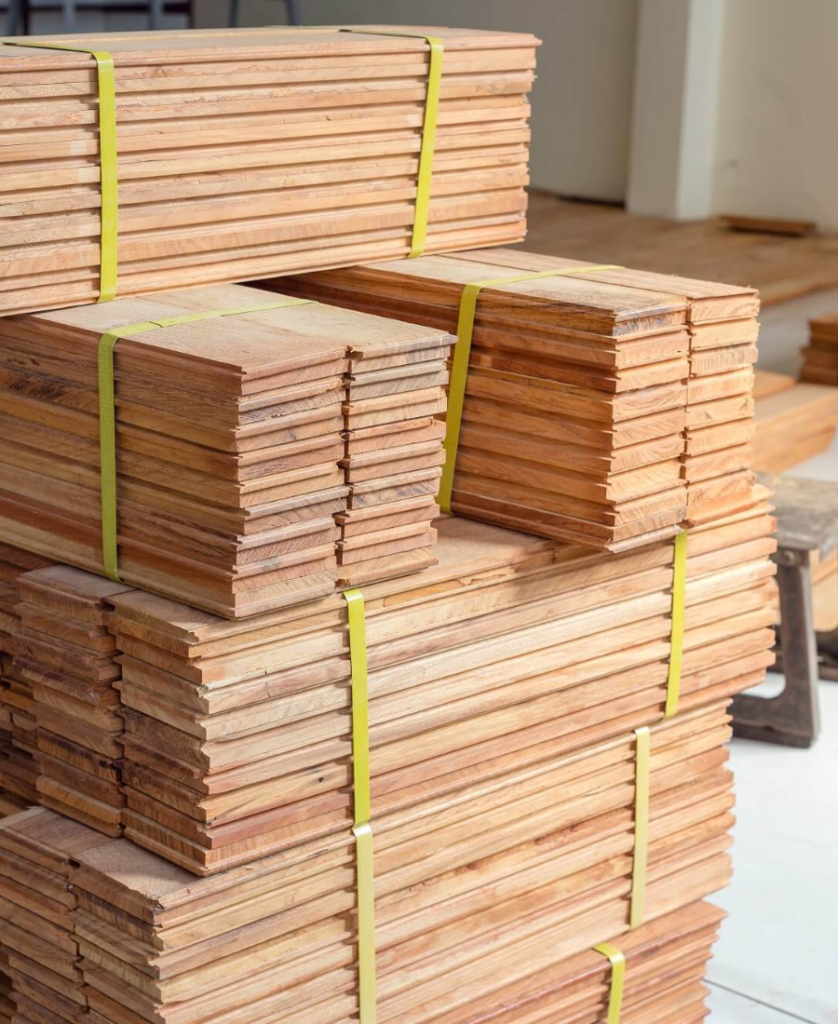
Our full line of contractor-approved tools, adhesives, flooring, and accessories helps you get the job done right—and on schedule. From durable, easy-to-use installation products to premium hardwood flooring like Crystal Valley, Appalachian, and other American-made options, OMP delivers quality you can trust to reduce callbacks and keep projects running smoothly..


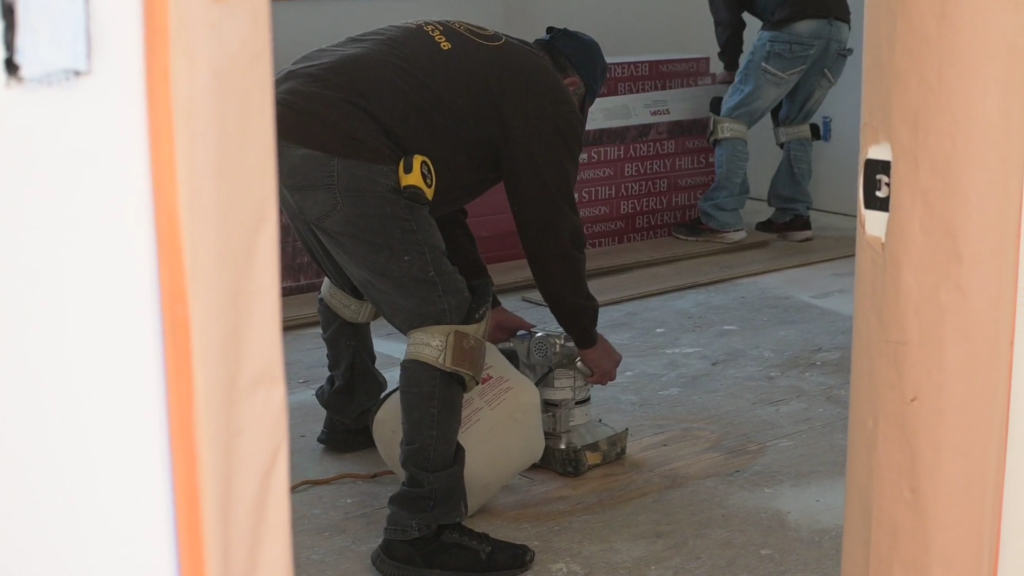
5. Overlooking Jobsite Safety and Cleanliness

Industrial safety helmet

The Mistake: A messy jobsite isn’t just a safety hazard—it can lead to adhesive issues, dust under planks, or product damage.

Flooring Tip: Keep the workspace dry, clean, and organized to protect your materials and speed up installation.

The OMP Solution:
From low-VOC adhesives to moisture control systems and high-performance cleaning tools, OMP helps you maintain a clean, safe jobsite. We offer innovative solutions like the Dust Halo, a universal dual-port tool that delivers 360° dust suction and keeps debris under control, and WOCA cleaning products, trusted for their effective, surface-safe formulas. With the right tools and products in place, you’ll minimize hazards, protect your materials, and deliver a flawless finish—every time.


Final Thoughts: Pro Tips for Professional Results

Whether you’re a seasoned installer or training up new crew members, following these flooring installation tips for contractors can make the difference between a smooth job and an expensive do-over.

At Old Master Products, we’re more than just a supplier—we’re your partner in getting it right. From prep to finish, our contractor-grade materials help you:

✅ Avoid costly installation mistakes
✅ Work more efficiently
✅ Build a reputation for flawless results

Want to streamline your installs and reduce callbacks?
Explore our full product line or reach out to your OMP rep for help selecting the right solution for your next project.

Filed Under: Flooring Installation Tagged With: Floor Installation, Flooring, flooring contractor, Flooring Installation, Flooring Tips, Hardwood Floor, Hardwood Flooring, Hardwood Floors, Wood

By

Benefits of Professional Floor Installation: Quality Assurance and Peace of Mind

Professional floor installation is essential in the world of home improvement. Few things can transform a space like new flooring. Whether you’re considering the timeless elegance of hardwood, the versatility of vinyl, or the affordability of laminate, installing new floors can breathe fresh life into your home. However, before you embark on a DIY flooring project, it’s essential to ask yourself a crucial question: Do I need a professional to install floors?

While the allure of saving money by tackling a home project yourself may be tempting, there are numerous reasons why entrusting the installation of your floors to a professional is not only wise but often necessary.

Expertise and Experience:

Professional floor installation crews possess the skills and knowledge gained through years of experience. They understand the nuances of each flooring material and the specific requirements for proper installation. Whether it’s ensuring the subfloor is adequately prepared, handling intricate cuts around corners and doorways, or addressing unexpected challenges during the installation process, professionals have the expertise to deliver high-quality results.

Quality Assurance:

Investing in new flooring is a significant financial commitment, and you want the finished product to reflect that investment. Professional installers are dedicated to delivering superior craftsmanship and attention to detail. They have access to the right tools, techniques, and materials necessary to ensure your floors are installed correctly the first time, minimizing the risk of errors or imperfections that could detract from the overall appearance and longevity of your floors.

Time and Efficiency:

DIY flooring projects can quickly escalate in both time and frustration, especially for those without prior experience. What may seem like a straightforward task can turn into a time-consuming ordeal, leading to delays and unnecessary stress. Professional installers work efficiently and effectively, completing the job in a fraction of the time it would take most homeowners. By hiring a professional, you can enjoy your new floors sooner without sacrificing quality.

Warranty Protection:

Many flooring manufacturers offer warranties that require professional installation to remain valid. Attempting to install your floors yourself could void these warranties, leaving you financially responsible for any future repairs or replacements. By hiring a licensed contractor, you ensure that your warranty remains intact, providing peace of mind and protection against unforeseen issues down the road.

Safety Considerations:

Installing floors can involve working with heavy materials, sharp tools, and potentially hazardous chemicals. Professional installers are trained to prioritize safety at every stage of the installation process, minimizing the risk of accidents or injuries. From proper handling and disposal of materials to adhering to safety protocols and regulations, professionals prioritize the well-being of both themselves and their clients.

In conclusion, while DIY projects can be fulfilling and cost-effective in some instances, when it comes to installing floors, the benefits of hiring a professional far outweigh the potential drawbacks. From expertise and quality assurance to time efficiency and warranty protection, professional installers offer a level of skill and service that simply cannot be replicated through DIY efforts.

So, if you find yourself asking, “Do I need a professional to install floors?” the answer is a resounding yes. By choosing to work with a licensed contractor, you’re not just investing in new floors—you’re investing in the long-term beauty, durability, and value of your home.

Need help finding a licensed contractor? Old Master Products is here for you! We have an extensive national network of credible licensed contractors. Contact us today to learn more!

Filed Under: Flooring Installation Tagged With: Engineered Hardwoods, Floor Installation, Flooring, Flooring Installation, Hardwood, Hardwood Floor, Hardwood Flooring, Hardwood Floors, Install, Installation, Laminate Flooring, Vinyl Flooring, Wood

By

Choosing the Right Flooring for Commercial Spaces: A Guide for Contractors

In the realm of commercial construction and design, the flooring you choose plays a pivotal role in creating a lasting impression. Whether you’re working on an office space, retail outlet, or hospitality venue, selecting the right flooring material is crucial for both aesthetics and functionality. In this comprehensive guide, we’ll explore the key considerations for contractors when it comes to flooring options, with a focus on engineered hardwood, vinyl, and laminate – three versatile choices that cater to the diverse needs of commercial spaces.

Engineered Hardwood: A Touch of Elegance

Nike Santa Monica: Maple Natural from the Crystal Valley Collection.

Engineered hardwood flooring brings a touch of sophistication to commercial spaces. With a top layer of a desired wood species and an inner core of plywood beneath, it provides the aesthetic appeal of hardwood with added durability. This flooring option is ideal for spaces that demand a classic and upscale appearance, such as executive offices, high-end retail stores, or upscale restaurants. Its versatility, moisture resistance, and easy maintenance make it a top choice for commercial contractors aiming to strike the perfect balance between style and functionality.

Project Highlight: Nike’s Santa Monica location, spanning two stories and 20,000 square feet, features the distinctive Chevron-patterned Crystal Valley Maple Natural (Amber) Flooring, carefully chosen by designers to complement the unique aesthetic of the space while meeting the specific requirements of this high-traffic environment.

HARDWOOD

Vinyl: Durability Meets Design

Balboa Bay Resort: SPC Himalayas Herringbone from the Summit Sky Collection

Vinyl flooring has rapidly gained popularity in commercial construction settings due to its exceptional durability, diverse design options, and cost-effectiveness. It is a resilient flooring choice that can withstand heavy foot traffic, making it suitable for retail spaces, healthcare facilities, and educational institutions. The vast array of designs and patterns available in vinyl allows contractors to achieve various looks, from mimicking natural wood or stone to creating unique and eye-catching designs. Additionally, vinyl is known for its easy installation, making it a time-efficient option for commercial projects.

Project Highlight: Summit Sky – Himalayas, featuring a beautiful herringbone pattern, was a strategic choice for the Lighthouse event venue at Balboa Bay Resort. The easy installation of vinyl made it a time-efficient solution, aligning seamlessly with the demands of commercial projects and allowing for a swift transformation of the space into a modern coastal event venue.

VINYL

Laminate: Budget-Friendly and Stylish

South Bay Community Church with a Garrison Flooring installation
South Bay Community Church: Aurora and Glaze Waterproof Laminate Flooring from the ILLUMIN8 Collection.

For contractors working within budget constraints without compromising style, laminate flooring is an excellent choice. With its synthetic layers that mimic the look of hardwood, laminate provides an affordable alternative without sacrificing aesthetics. This type of flooring is resistant to scratches, stains, and fading, making it suitable for high-traffic areas such as retail stores, cafes, and community spaces. Its ease of installation and low maintenance requirements make it a practical solution for contractors looking to meet both financial and design objectives.

Project Highlight: At the South Bay Community Church in Los Angeles, our ILLUMIN8 Collection’s Aurora and Glaze Waterproof Laminate flooring was a perfect choice. Resistant to scratches, stains, and fading, it not only enhances the church’s elegance but also ensures durability in high-traffic areas, setting a standard for both style and functionality.

LAMINATE

Considerations for Contractors:

  • Traffic and Usage Patterns: Assess the anticipated foot traffic and usage patterns in the commercial space to determine the most suitable flooring option.
  • Maintenance and Durability: Consider the maintenance requirements and durability of each flooring type to ensure long-term performance.
  • Aesthetics and Brand Image: Align the flooring choice with the aesthetics and brand image of the commercial space to create a cohesive and appealing environment.
  • Budget Constraints: Evaluate budget constraints and choose a flooring option that meets financial considerations without compromising quality.

Conclusion:

In the world of commercial construction, choosing the right flooring is a critical decision that impacts the overall look, feel, and functionality of a space. Contractors seeking a balance between aesthetics, durability, and cost-effectiveness can turn to engineered hardwood, vinyl, and laminate. By carefully considering factors such as traffic patterns, maintenance requirements, and budget constraints, contractors can ensure that the selected flooring enhances the commercial space and contributes to a positive and lasting impression.

CONTACT US
ORDER SAMPLES

Filed Under: Flooring Installation Tagged With: Commercial Construction, Commercial Flooring, Floor Installation, Flooring, Flooring Installer, Hardwood, Hardwood Floors, Install, Laminate, Laminate Flooring, VInyl, Vinyl Flooring, Vinyl Installation

By

Glossary of Flooring Terms for Installers

Glossary terms for flooring installers

Whether you are a newbie installer or an experienced veteran in the industry, understanding flooring lingo can help you complete your job efficiently and accurately. To help you navigate, we’ve compiled a handy glossary of flooring terms specifically for installers and contractors.

A good starting point for any installer is knowing the difference between resilient and solid flooring. 

  • Resilient flooring is any type of material designed to be flexible and sturdy, such as vinyl or laminate. 
  • Solid flooring most commonly refers to hardwood.

The next set in our glossary of flooring terms to know revolves around the type of installation involved. Nail-down, floating, and glue-down are all common installation methods. 

  • Nail-down is when the flooring is nailed to a subfloor or existing floor. 
  • Floating floors are when the planks are attached to each other, but not attached to the subfloor. The planks are held in place using the tongue-and-groove method. 
  • Glue-down installation is the process of, as the name implies, using a strong adhesive to secure the flooring to the subfloor. 

Next up, you’ll want to be familiar with the elements of a flooring board itself. The most important pieces you need to know are the tongue, groove, and core. 

  • The tongue of the board is a protrusion of the board on the long end, allowing the board to fit snugly onto other boards. 
  • The groove is the channel along the end of the board that allows the tongue to fit in. 
  • The core is the center of the board, usually composed of multiple layers of wood to give the board its structure and stability. 

When preparing to install the flooring, there are a few extra pieces of equipment you should know. 

  • Underlayment is a protective material that is installed between the sub-floor and the new flooring to increase soundproofing and insulate against both cold and heat. 
  • Moisture barriers are also a must-know, as these are essential for preventing mold and mildew growth.

Finally, there are a few other terms that all installers should know. 

  • Acclimation is the process of allowing the flooring boards to rest before installation in order to adjust to a job site’s temperature and humidity levels. Doing so helps to alleviate any expansion or contraction issues that could arise due to temperature and humidity changes.
  • Expansion gaps are also important as they are the small gaps left between the walls and the flooring that allow the flooring to expand and contract as needed.

We hope this glossary of flooring terms was helpful. If you have any further questions, our team of flooring specialists are here to help – Contact us here and we’ll be in touch soon!

Filed Under: Flooring Installation, Hardwood Flooring, Resilient Flooring Tagged With: Floating, Floor Installation, Flooring, Flooring Installation, Glue-down, Hardwood, Hardwood Floor, Hardwood Flooring, Hardwood Floors, Install, Installation, Moisture Barriers, Nail-down, Resilient Flooring, Solid Flooring, Underlayment, Wood

By

Vinyl Floor Installation: Tips & Tricks

When it comes to vinyl floor installation, it’s all about the details. These details are often overlooked by novice installers who only know the basics of laying down a new floor. Have no fear – with the right tips and tricks, you can get perfect results time and time again. Whether you’re a professional flooring installer, or a newer installer just starting out, follow these tips and tricks for a flawless vinyl floor installation every time. 

Use the Right Tools

Blog Graphics for Vinyl Floor Installation Tips & Tricks for Perfect Results - Old Master Products - Garrison Collection - Use the Right Tools

Having the right tools for the job is essential. Make sure you have a utility knife, a pull bar, spacers, a pencil, a tape measure, a ruler, a large combination square, a white rubber mallet, goggles, and a saw with a fine tooth. Advanced tools are optional but recommended, like a combination saw, a table saw, a Roto Zip with a carbide tip, a jigsaw, a HEPA vacuum, a circular saw, an undercut saw, and a D-Cut LP-330 LVT/VCT/WPC Flooring Cutter.

Acclimate

Our next tip for perfect vinyl floor installation is to acclimate your flooring: allowing the planks or tiles to adjust to the room’s temperature and humidity before starting the installation. Make sure that you are working in a climate-controlled environment with constant ambient temperatures of 65°F (approx. 18°C) for 48 hours before, during, and after beginning the installation.

Layout & Staggering

An important part of the installation process is the layout and staggering of the planks or tiles. For a perfect result, you should start in one corner of the room and work your way out towards the opposite wall, randomly staggering the ends. You should also work with multiple boxes at a time in order to create a natural-looking variation on the floor. 

Moisture Barriers

Often overlooked, moisture barriers are a must-have for any vinyl floor installation. It is recommended that you use a Garrison Moisture Barrier (or equivalent product) at least 6 mil thick (We recommend 10 mil). This will add an additional layer of protection against excess moisture and seasonal changes.

Overall

Vinyl floor installation can be tricky for those without the proper experience and know-how. But, by following these tips and tricks, you’ll be well on your way to perfect vinyl floor installation. With the right preparation and tools, you can create a floor that you and your customers will love.

Looking for an on-the-go reference? Our Vinyl Installation Instructions are available here. 

If you need help or have any questions, you can contact us here and our flooring specialists will be in touch soon. 

Filed Under: Flooring Installation, Resilient Flooring Tagged With: Floor Installation, Flooring Installation, Install, Installation, Tips, Tips and Tricks, VInyl, Vinyl Floor, Vinyl Flooring, Vinyl Installation

  • 1
  • 2
  • Next Page »
  • About
  • Products
  • Customers
  • Locations
  • Resources
  • Blog
  • Careers
  • Contact
  • (800) 300-5158

Copyright © 2025 · Terms & Conditions · Privacy Policy